The last step
How to finish and frame a Kinusaiga picture
Turn a tucked foam board into a finished piece. Edge finishes, ribbon borders, framing depth, hanging, displaying and caring for Kinusaiga fabric art.
About 8 minutes
When the last piece is tucked, the picture is finished but the object is not. The sides of the board still show foam. The outer edge of the background may be uneven. There is nothing to hang it by. A few careful steps turn the board into something you can give away or put on a wall.
Plan the finish before you cut the board. The choice between a wrapped edge, a border and a frame decides how much extra board and fabric you need around the motif.
Check the surface first
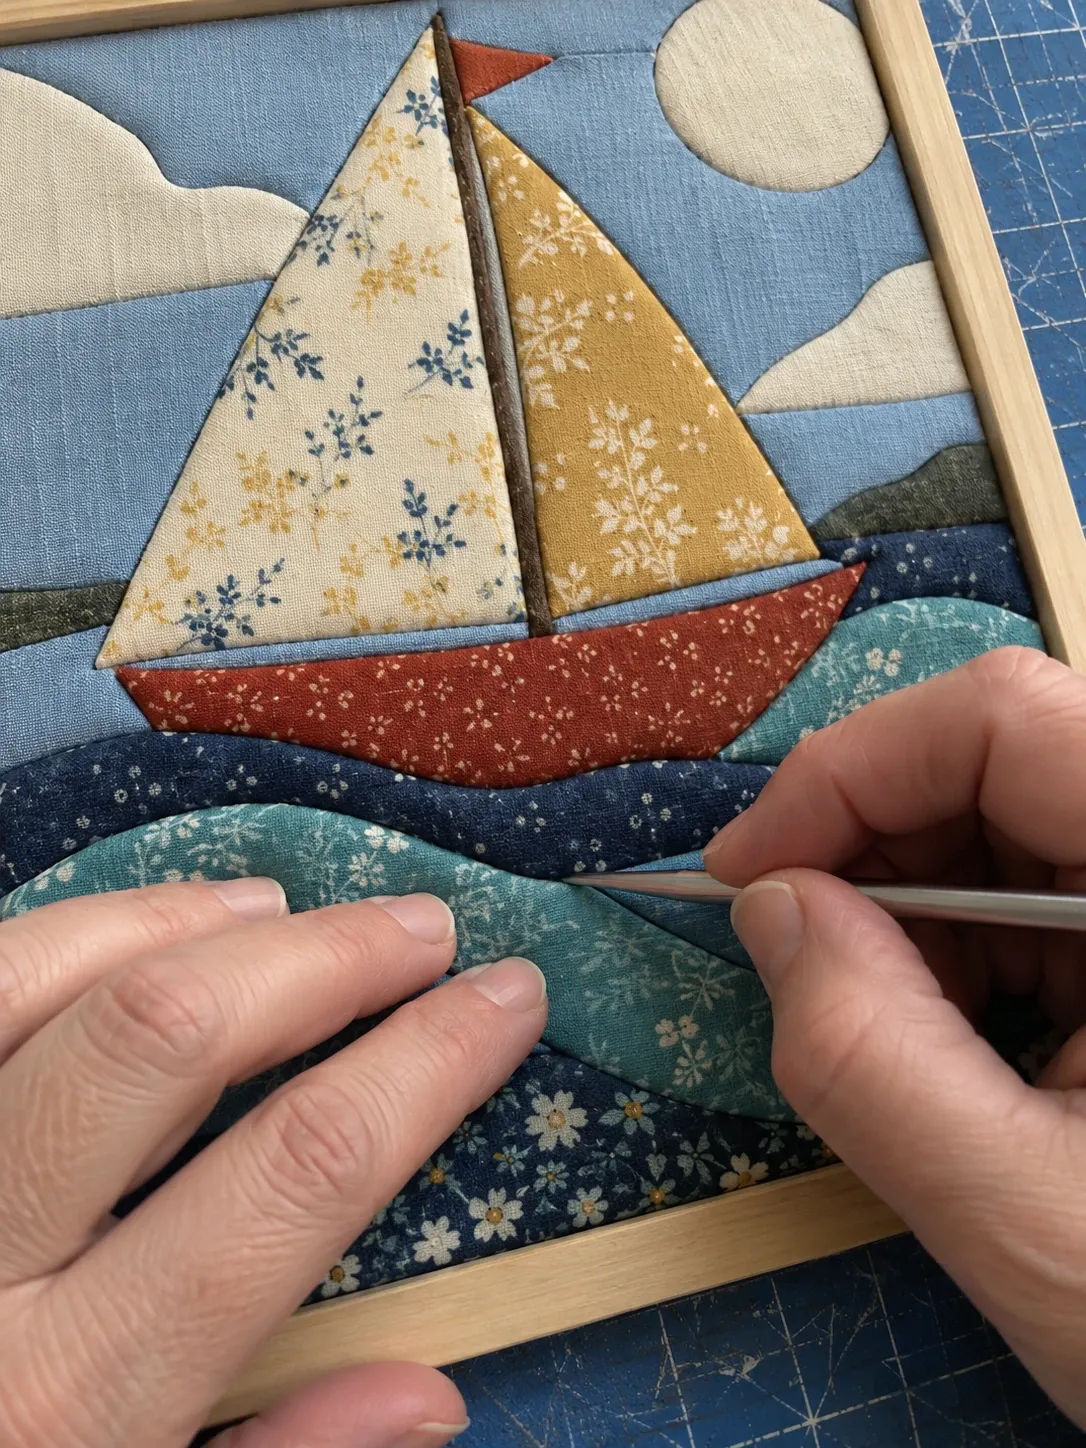
Look at the picture from a short distance in good side light. Side light shows lifted edges, loose threads and small gaps better than light from the front. Push any lifted edge back into its groove. Trim stray threads with small scissors rather than pulling them, because pulling can loosen a woven edge.
Remove dust and lint with a lint roller or a strip of tape held loosely around your fingers. Do this before framing. Dust caught behind glass stays there.
Choose an edge finish
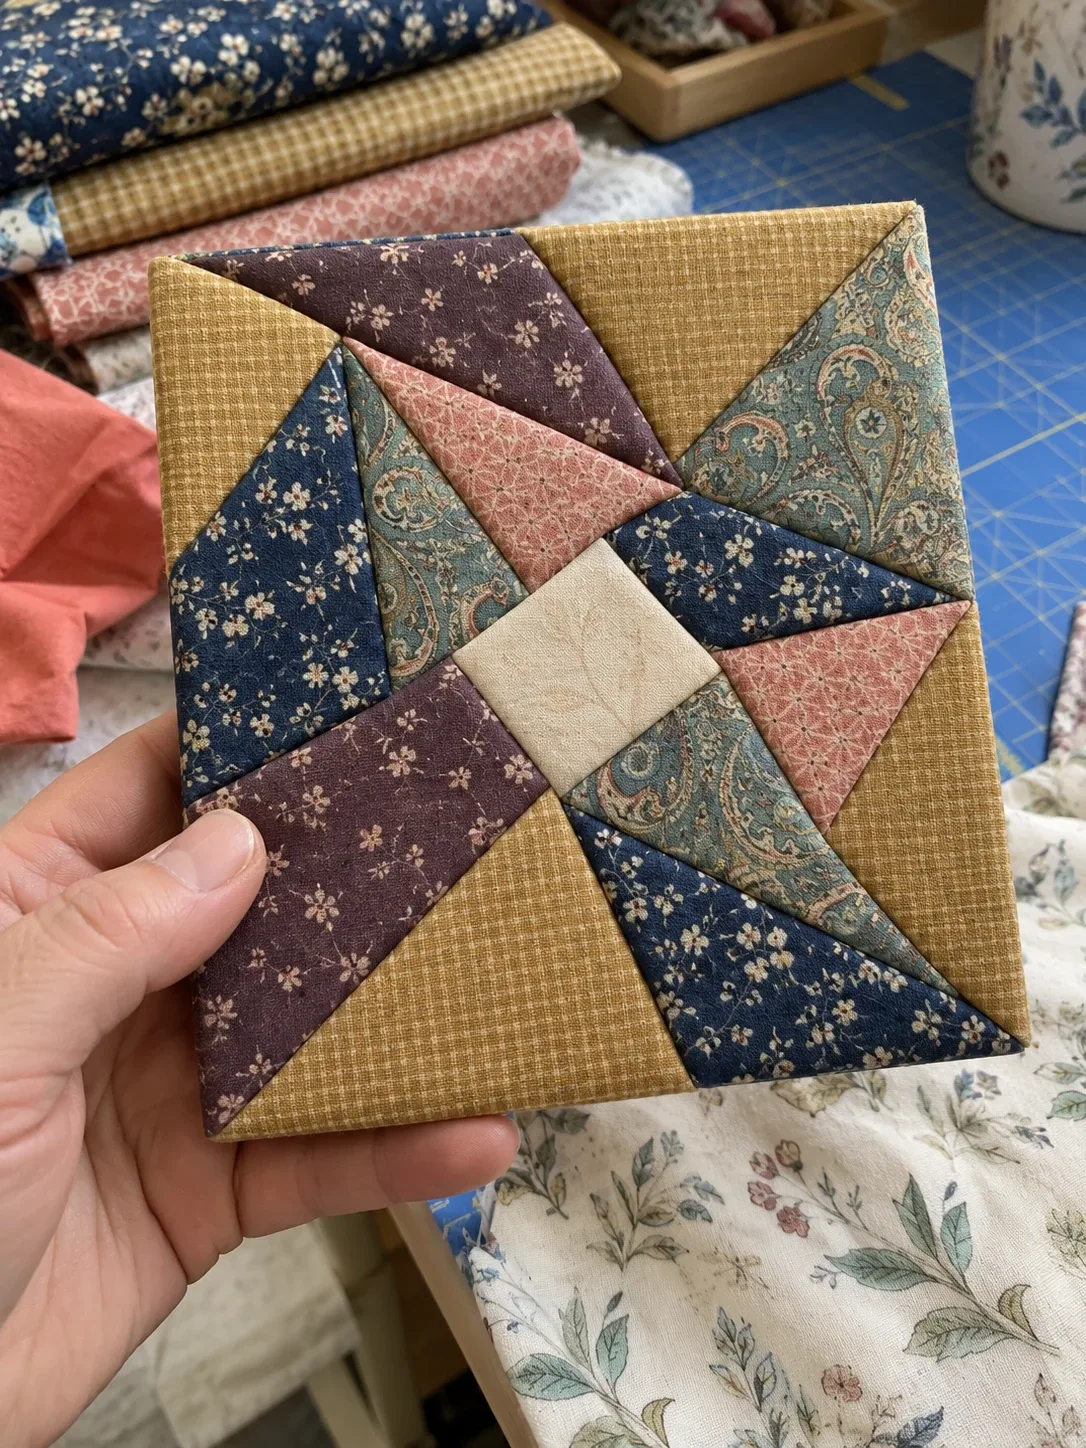
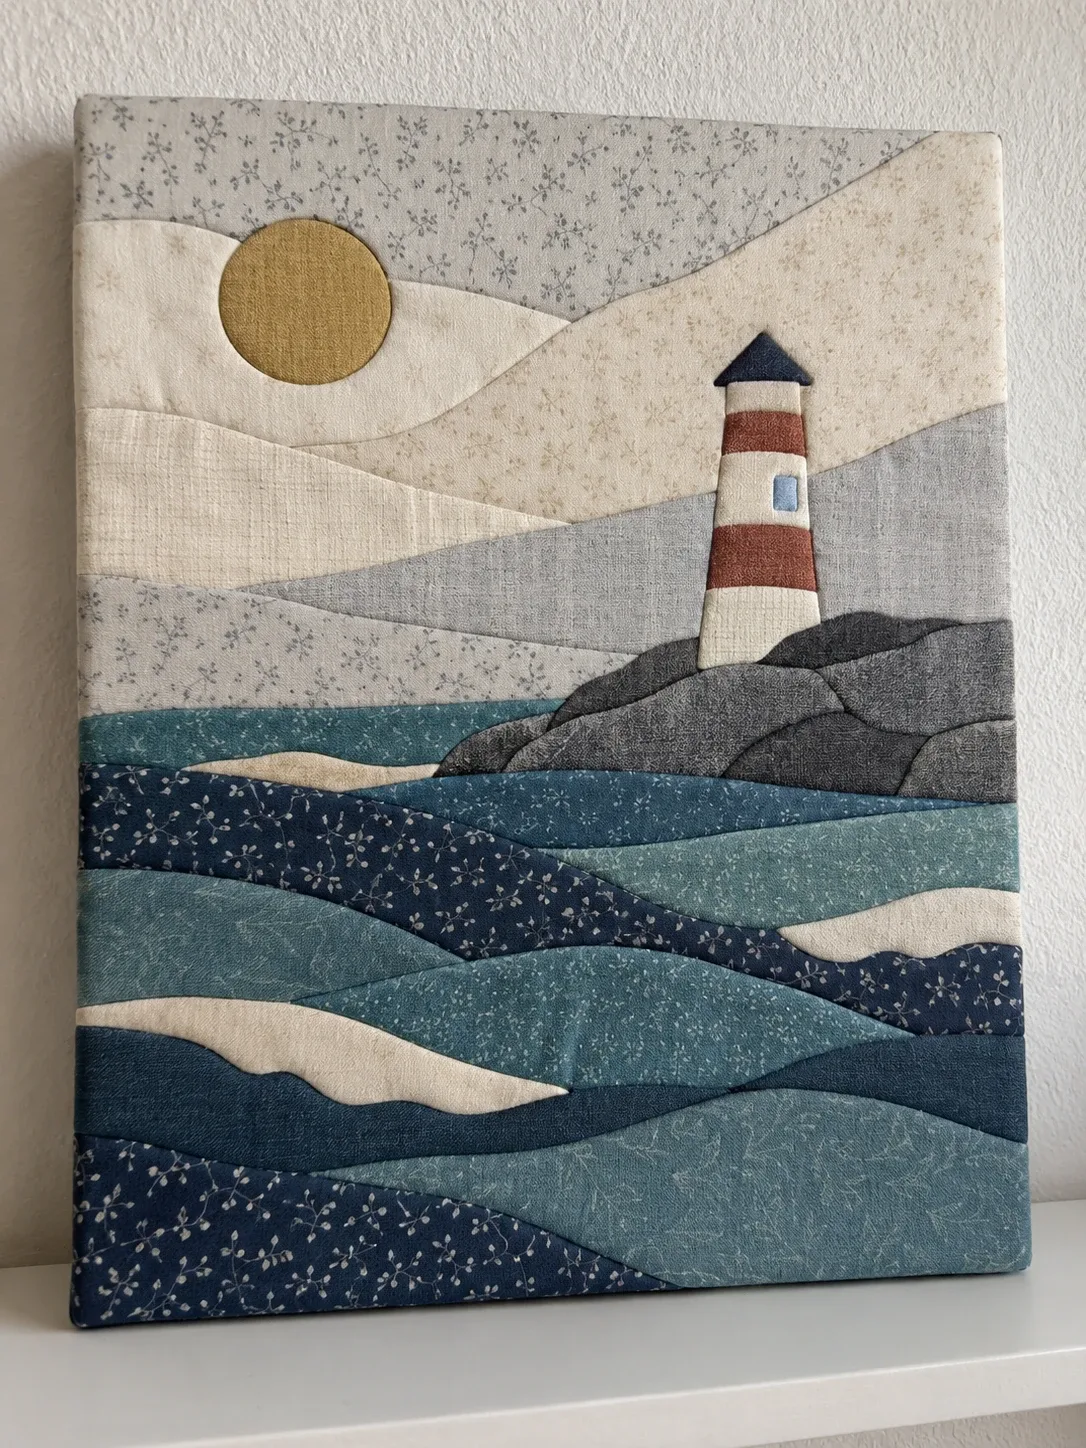
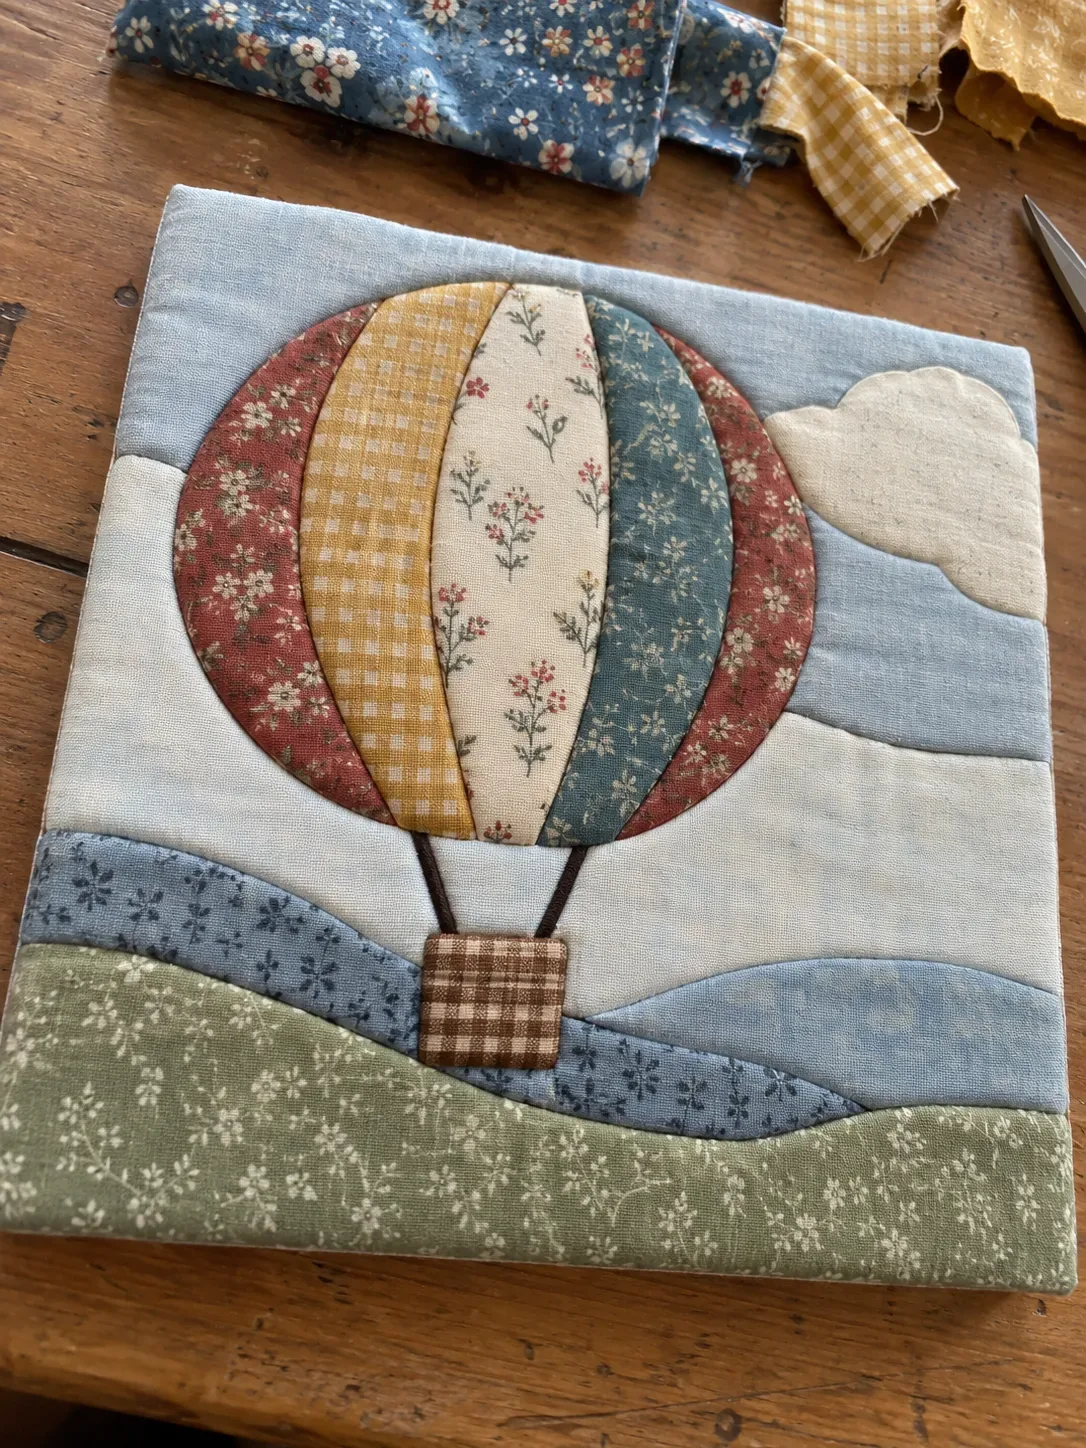
Wrapping the edge cleanly
For a wrapped edge, leave the background pieces along the border untrimmed. Fold the cloth over the side of the board and secure it on the back with fabric glue, double sided tape or pins pushed in at an angle. Work from the middle of each side toward the corners, as you would when stretching a canvas.
At the corners, fold the cloth like the corner of a wrapped parcel and trim away the bulk on the back. A neat corner is worth a second attempt, because it is the first thing people see when they pick the piece up.
Covering the back
The back of the board shows foam, glue and folded cloth. Cut a piece of card, felt or plain fabric slightly smaller than the board and glue it on. It hides the raw edges and gives you a clean surface to sign and date the work. Many makers write the date, the title and the fabrics used on the back. It becomes a small record of the piece.
Framing depth matters
A Kinusaiga board is much thicker than a print. A normal picture frame has a shallow rebate and the board will not sit flat in it. Look for a deep frame, often sold as a box frame or shadow box, and measure the thickness of the board including the fabric before buying.
Glass is optional. It protects the fabric from dust and touch, but it can press on the surface if the frame is too shallow and it adds reflections. A box frame with a spacer keeps the glass away from the fabric. For a piece that will hang in a dry, clean room, no glass at all lets the texture of the cloth show best.
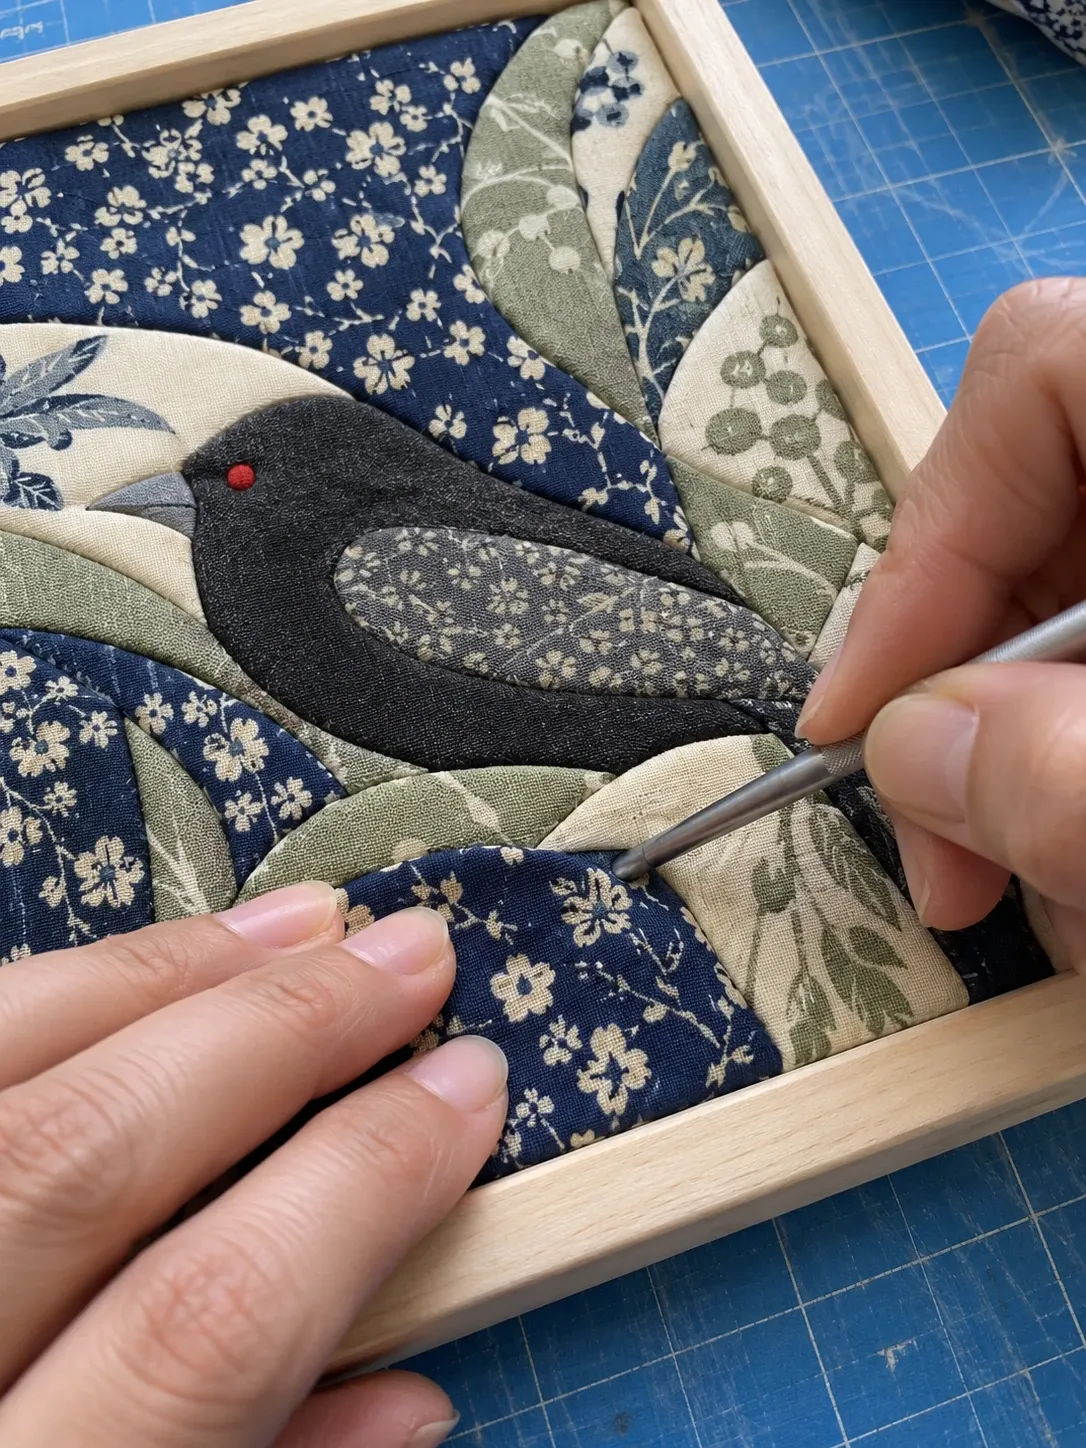
Hanging and displaying
- Foam board is light, so a small piece can stand on a shelf or a small easel.
- For a wall without a frame, glue a sawtooth hanger or a loop of ribbon to a piece of card, then glue that card to the back. The card spreads the load so the hanger does not tear out of the foam.
- Adhesive picture strips work on smooth walls for light boards. Follow their weight limits.
- Several small boards hung together make a strong series, for example the members of a family or a set of seasonal motifs.
Keep it out of direct sun
Fabric fades. Natural fibers and bright dyes fade fastest. Hang the picture away from a sunny window. A frame with UV protective glass helps if the room is bright. Avoid damp rooms too, because moisture can loosen adhesive and mark pale cloth.
Cleaning and care
Dust the surface gently with a soft dry brush or a lint roller. Do not wash or wet the picture. Water can loosen glue, shrink cotton and stain the board. If a single piece becomes marked, it is often easier to replace that piece than to clean it. Lift its edges from the grooves, remove it and tuck a fresh piece cut from the same template.
A finishing checklist
- Inspect the surface in side light and fix lifted edges
- Trim stray threads and remove lint
- Finish the sides with a wrap, a fabric border or ribbon
- Cover the back and sign the piece
- Choose a frame deep enough for the board, or a sturdy hanger
- Hang it away from direct sun and moisture
The finish is where a craft project becomes a gift or a piece for your wall. It takes far less time than the tucking, but it changes how the whole picture is seen. A clean edge and a proper frame make careful fabric work look as deliberate as it was.
Ready to make something
Turn your own image into a printable pattern
Upload an image and let the generator prepare the color areas, numbered pieces and print layout.
Create a pattern