From pattern to finished picture
How to do Kinusaiga: a step-by-step guide for beginners
How to make your first Kinusaiga picture from start to finish: choose a pattern, transfer it, cut the grooves, tuck the fabric and finish the board, with tips for each step.
About 7 minutes
To do Kinusaiga, you transfer a pattern onto a foam board, cut shallow grooves along every line, then push the edges of small fabric pieces into the grooves until the whole picture is covered. No sewing and no glue are needed for the basic technique. This guide walks through a first project in eight steps and links to a detailed guide for each one.
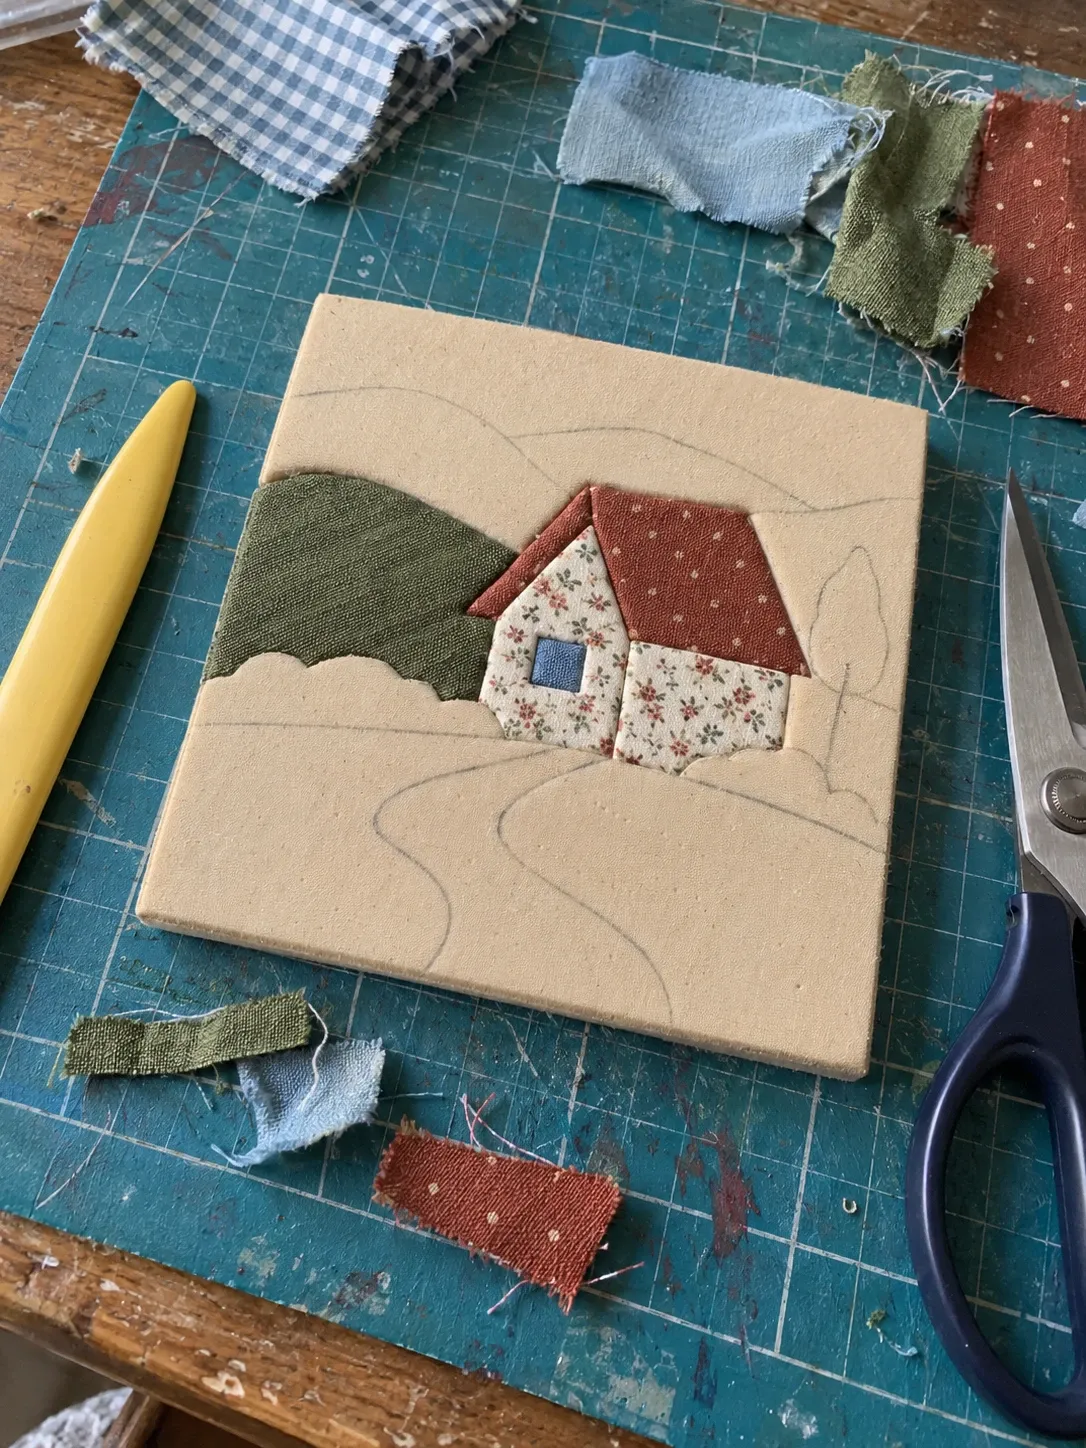
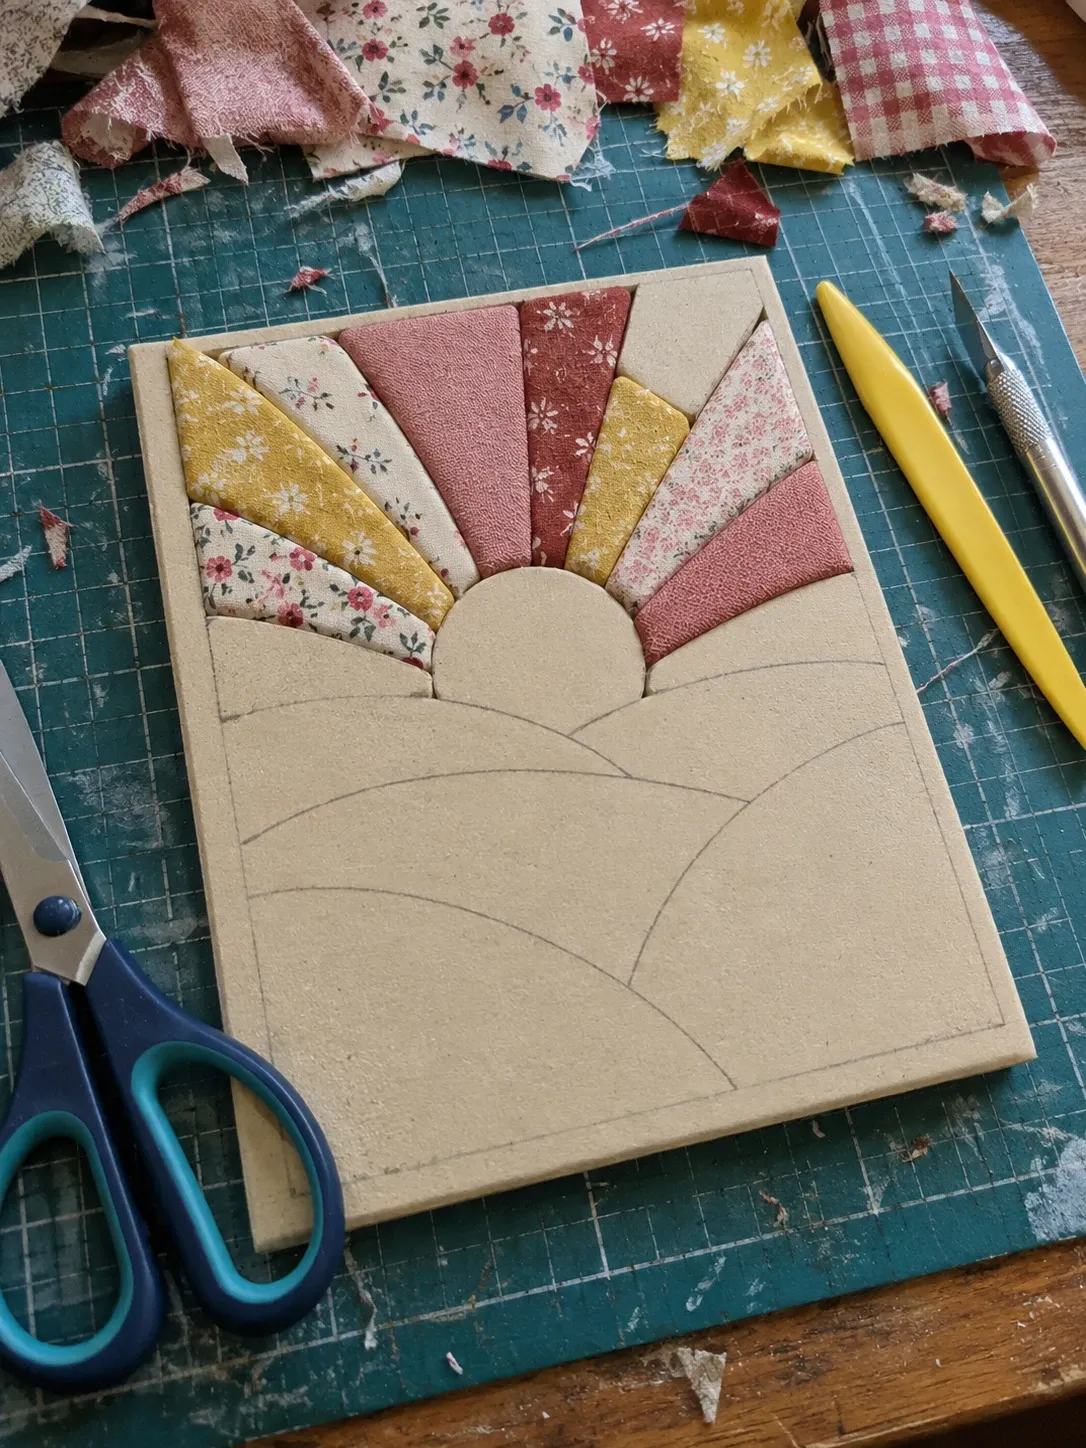
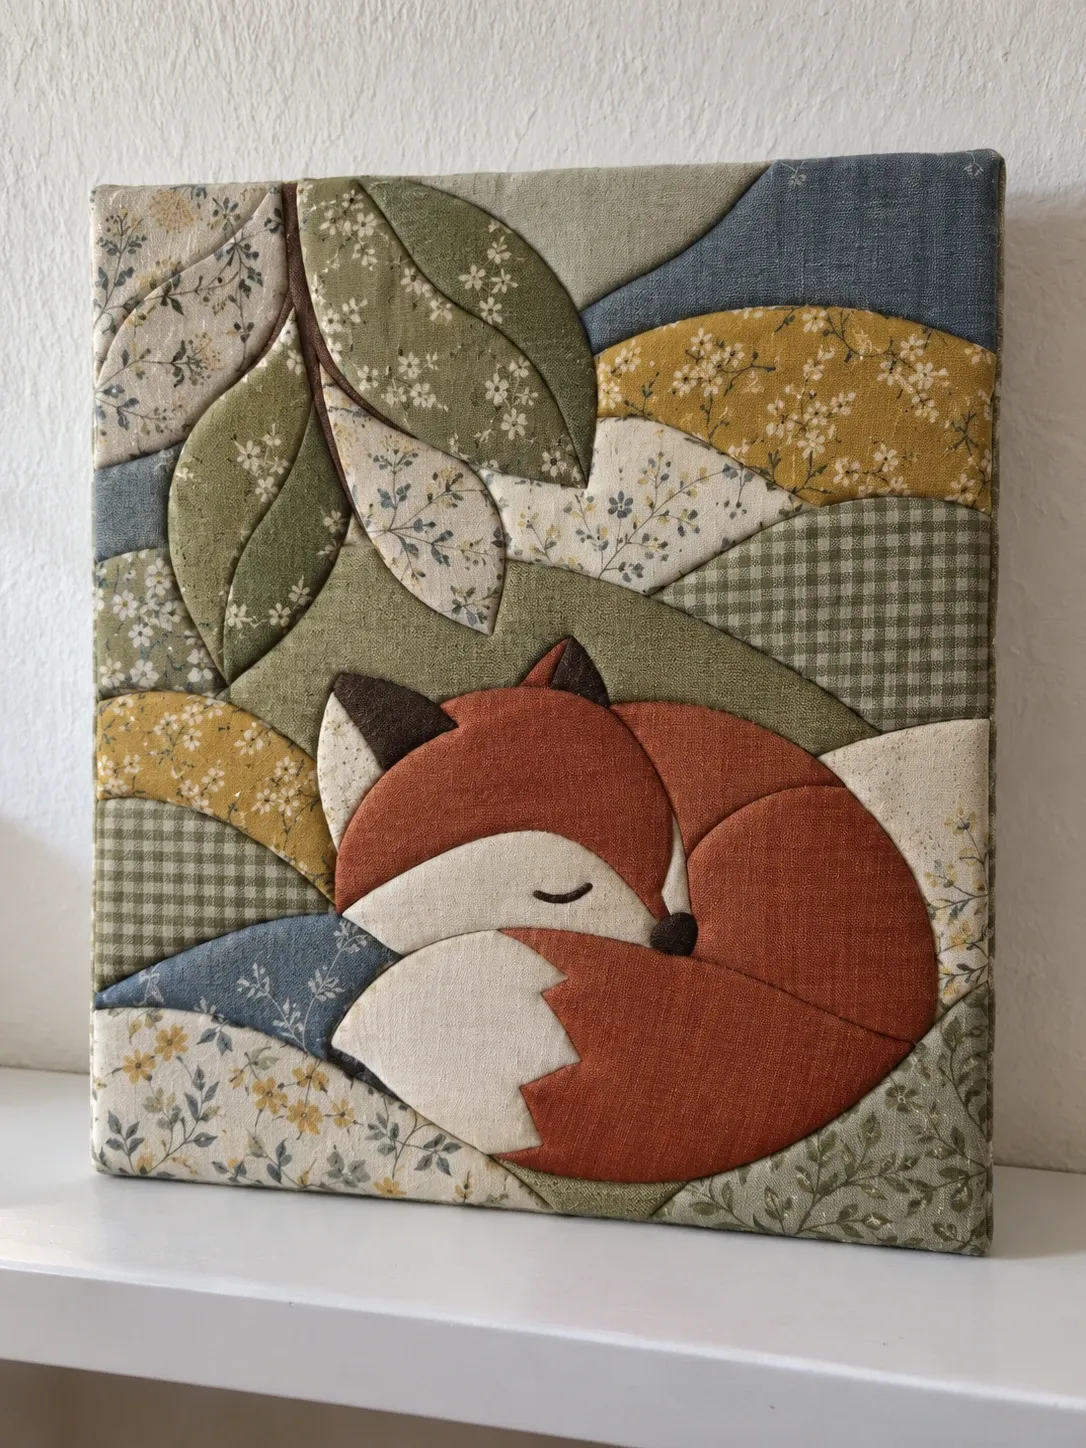
What you need
A printed pattern, a dense foam board about 1 inch (2.5 cm) thick, a sharp craft knife, small fabric scissors, a blunt tucking tool and scraps of quilting cotton. Transfer paper, a cutting mat and a metal ruler make the work easier. The Kinusaiga supply list explains each item and what you can use instead.
Step 1: Choose a simple first pattern
Pick a design with large, rounded shapes and fewer than about 25 pieces, such as the daisy, the sailboat or the sleeping fox. All free Kinusaiga patterns come in a simple version for exactly this purpose. You can also turn your own photo into a pattern; the generator merges pieces that would be too small to tuck.
Step 2: Print the pattern at full size
Print at 100 percent, not "fit to page", and check the scale with a ruler. The pattern must match the board exactly, because every line becomes a real cut. More in print and transfer a Kinusaiga pattern.
Step 3: Transfer the lines to the board
Lay graphite transfer paper on the board, the pattern on top, and trace every line with a pencil or a stylus. Tape the pattern down so it cannot shift. Write the piece numbers on the board too; they tell you the tucking order later.
Step 4: Cut the grooves
Cut along every line with a fresh blade, about 5 to 8 mm deep, holding the knife upright. Use a metal ruler for straight lines and turn the board, not your wrist, around curves. Do not cut the outer frame of the picture if you plan to wrap the fabric around the edge.
Step 5: Choose and cut the fabric
Lightweight, tightly woven cotton is the easiest to tuck. Lay out the fabrics for the whole picture before you cut, so that neighbouring pieces contrast. Cut each piece with 5 to 10 mm of allowance around its shape; a paper copy of the piece helps.
Step 6: Tuck from back to front
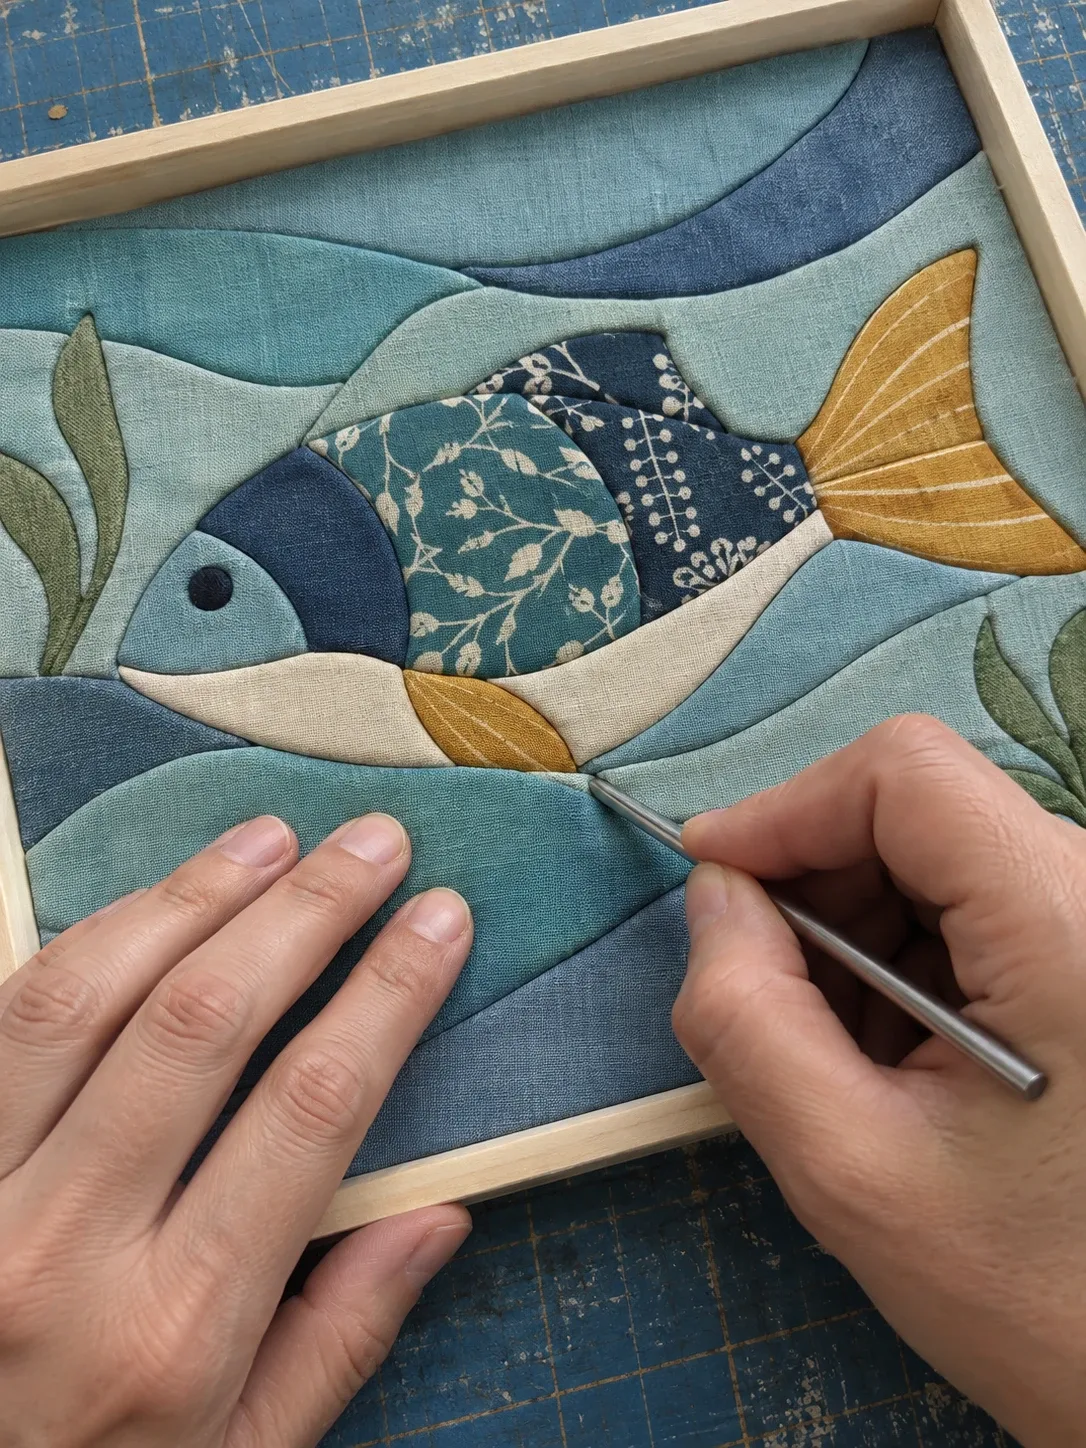
Lay the first piece over its shape and push its edge into the groove with short, gentle pushes of a blunt tool, working around the shape a little at a time. Trim the allowance as you go. Work from the background to the front: large shapes first, small details last. The tucking guide covers curves, sharp points and tiny pieces.
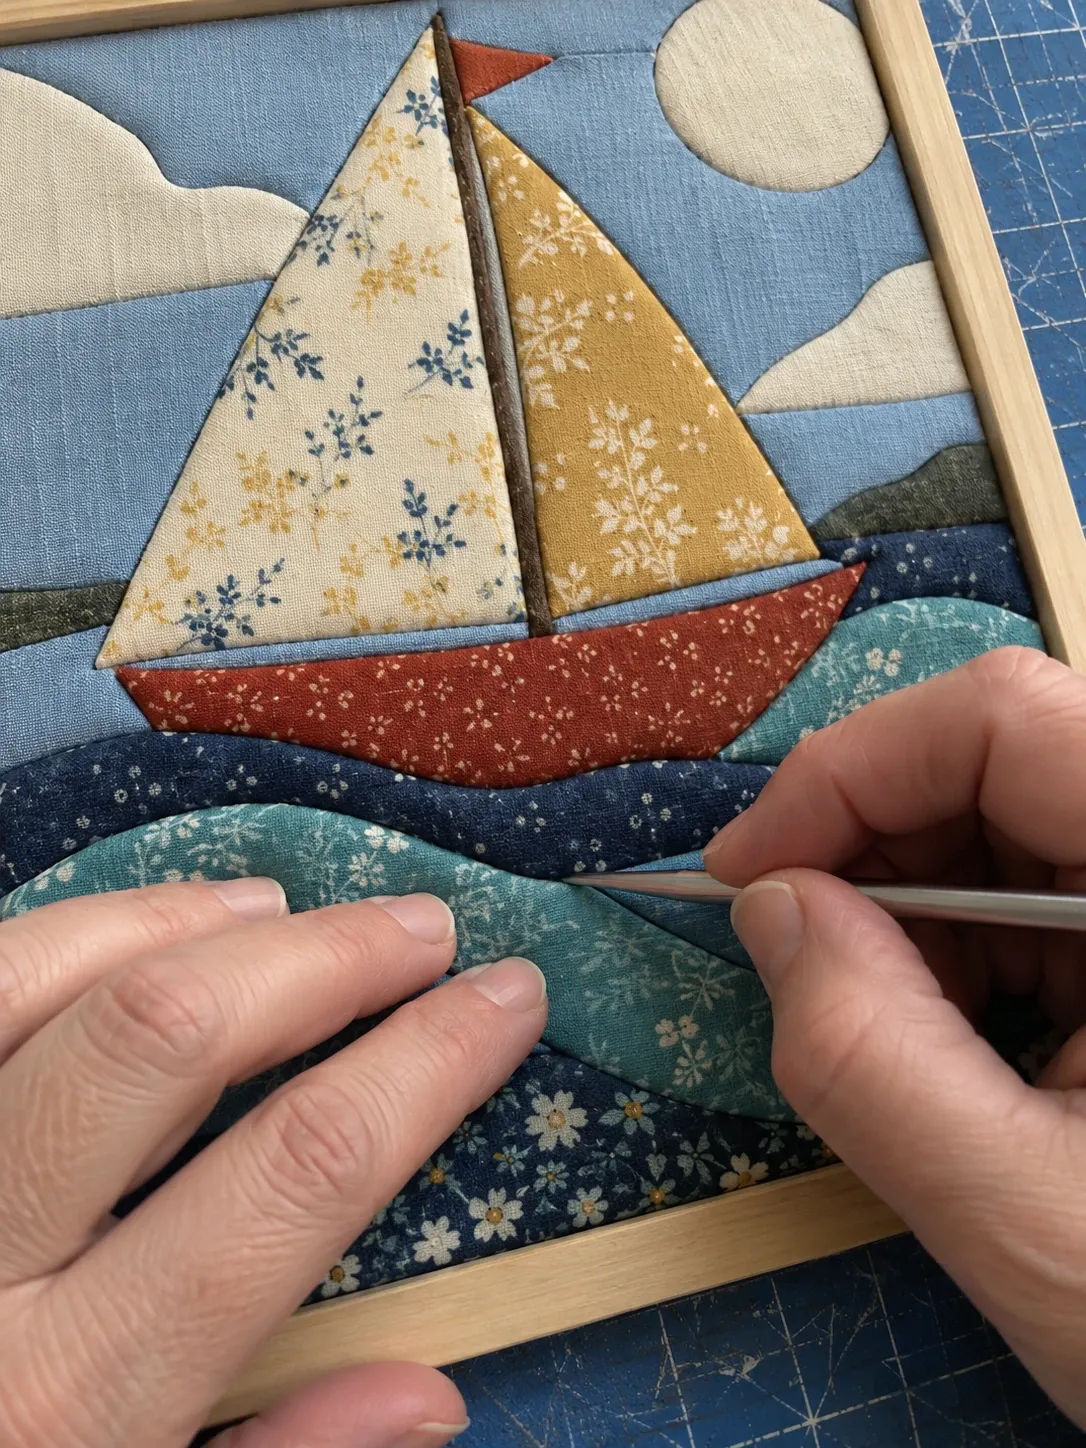
Step 7: Check and fix
Look at the picture from a few steps away. Push back any edge that has come loose, and tuck in frayed threads. A drop of fabric glue in the groove holds a tiny piece that keeps popping out. Gaps, wrinkles and other problems are solved in fix common Kinusaiga problems.
Step 8: Finish the edges and frame it
Wrap a fabric strip around the board edge and tuck it into a groove near the outside, or set the board into a deep frame. Both are explained in finish and frame your Kinusaiga.
Beginner tips
- Choose calm prints for large areas and save busy prints for small shapes.
- Keep the blade sharp: a dull blade tears the foam and makes wide grooves.
- Push, do not drag. Long strokes stretch the fabric and widen the groove.
- Finish one piece completely before starting the next.
- Keep your first picture small, about 15 to 20 cm, so you finish it in one weekend.
Frequently asked questions
Is kinusaiga hard?
No. There is no sewing, and the basic motion is pushing a fabric edge into a groove with a blunt tool. A first picture with 15 to 25 large pieces is very manageable. Tight corners, thin shapes and tiny details take more practice, so leave them for later projects.
How long does a first kinusaiga picture take?
Plan an afternoon or two evenings for a small beginner pattern: about an hour to transfer and cut the grooves, and a few hours to tuck the fabric. Detailed pictures with many small pieces can take several evenings.
How deep should the grooves be?
About 5 to 8 mm (a quarter inch) in a 1 inch foam board. Deep enough to hold the edges of two neighbouring fabric pieces, but not so deep that the board loses strength.
How much fabric allowance do I need?
Cut each piece about 5 to 10 mm larger than its shape on all sides. Trim more off once part of the edge sits in the groove; too little allowance pops out, too much makes bulky corners.
In which order do I tuck the pieces?
From back to front: the background first, then the large shapes, the overlapping parts and the small details last. Free patterns on createyourpattern.com are numbered in this order.
Can children do kinusaiga?
Yes, with help. An adult should cut the grooves with the knife; children from about 8 years can choose the fabric and tuck prepared sections with a blunt tool.
Ready to make something
Turn your own image into a printable pattern
Upload an image and let the generator prepare the color areas, numbered pieces and print layout.
Create a pattern